Christian Brauner
on 12 July 2017

For a long time LXD has supported multiple storage drivers. Users could choose between zfs, btrfs, lvm, or plain directory storage pools but they could only ever use a single storage pool. A frequent feature request was to support not just a single storage pool but multiple storage pools. This way users would for example be able to maintain a zfs storage pool backed by an SSD to be used by very I/O intensive containers and another simple directory based storage pool for other containers. Luckily, this is now possible since LXD gained its own storage management API a few versions back.
Creating storage pools
A new LXD installation comes without any storage pool defined. If you run lxd init LXD will offer to create a storage pool for you. The storage pool created by lxd init will be the default storage pool on which containers are created.
Creating further storage pools
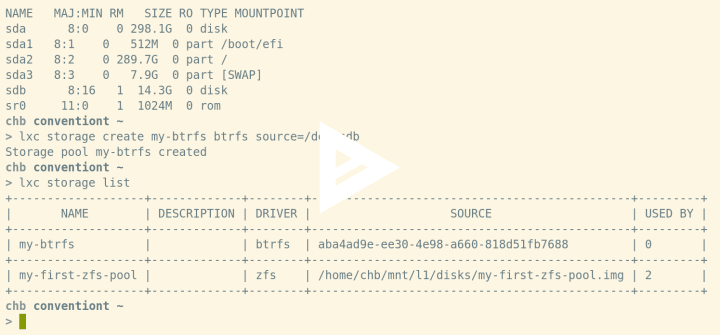
Our client tool makes it really simple to create additional storage pools. In order to create and administer new storage pools you can use the lxc storage command. So if you wanted to create an additional btrfs storage pool on a block device /dev/sdb you would simply use lxc storage create my-btrfs btrfs source=/dev/sdb. But let’s take a look:
Creating containers on the default storage pool
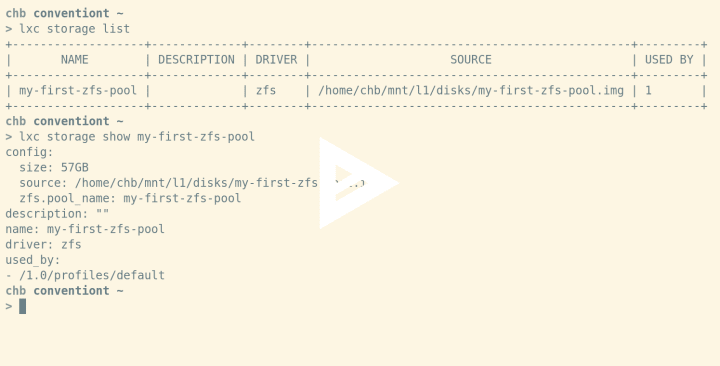
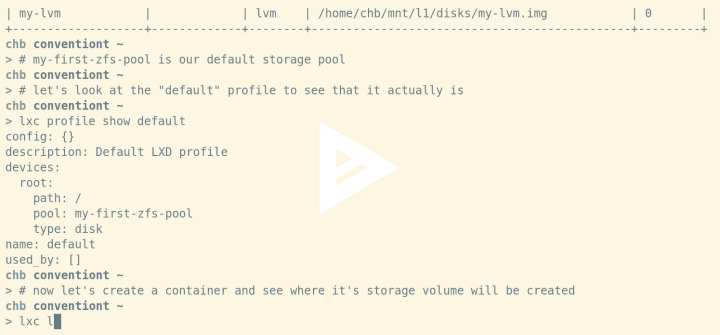
If you started from a fresh install of LXD and created a storage pool via lxd init LXD will use this pool as the default storage pool. That means if you’re doing a lxc launch images:ubuntu/xenial xen1 LXD will create a storage volume for the container’s root filesystem on this storage pool. In our examples we’ve been using my-first-zfs-pool as our default storage pool:
Creating containers on a specific storage pool
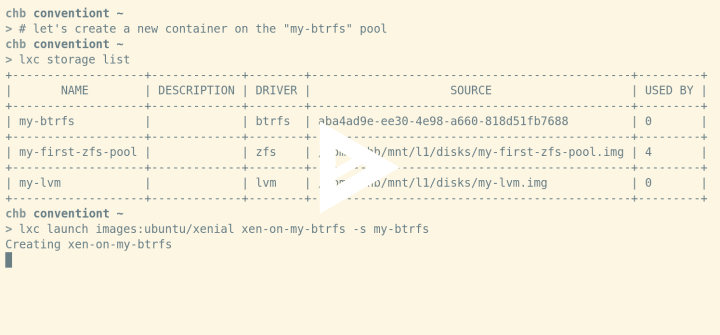
But you can also tell lxc launch and lxc init to create a container on a specific storage pool by simply passing the -s argument. For example, if you wanted to create a new container on the my-btrfs storage pool you would do lxc launch images:ubuntu/xenial xen-on-my-btrfs -s my-btrfs:
Creating custom storage volumes
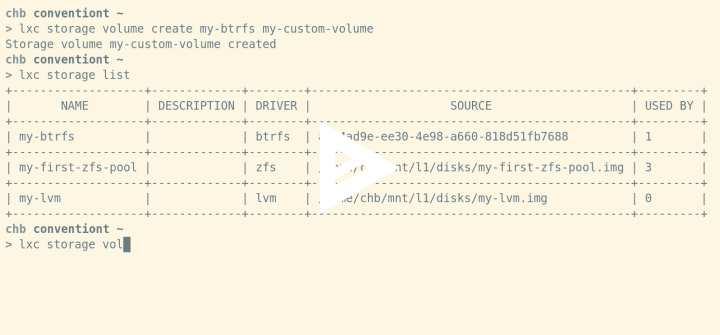
If you need additional space for one of your containers to for example store additional data the new storage API will let you create storage volumes that can be attached to a container. This is as simple as doing lxc storage volume create my-btrfs my-custom-volume:
Attaching custom storage volumes to containers
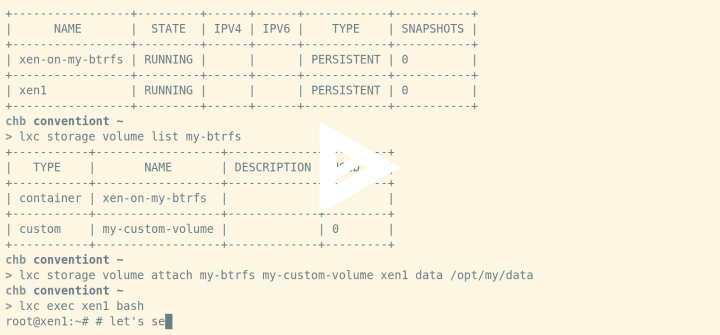
Of course this feature is only helpful because the storage API let’s you attach those storage volume to containers. To attach a storage volume to a container you can use lxc storage volume attach my-btrfs my-custom-volume xen1 data /opt/my/data:
Sharing custom storage volumes between containers
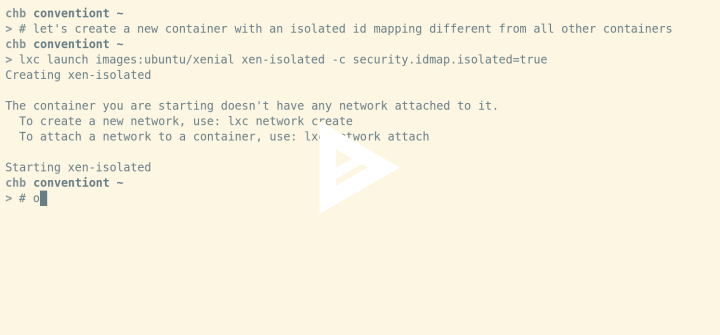
By default LXD will make an attached storage volume writable by the container it is attached to. This means it will change the ownership of the storage volume to the container’s id mapping. But Storage volumes can also be attached to multiple containers at the same time. This is great for sharing data among multiple containers. However, this comes with a few restrictions. In order for a storage volume to be attached to multiple containers they must all share the same id mapping. Let’s create an additional container xen-isolated that has an isolated id mapping. This means its id mapping will be unique in this LXD instance such that no other container does have the same id mapping. Attaching the same storage volume my-custom-volume to this container will now fail:
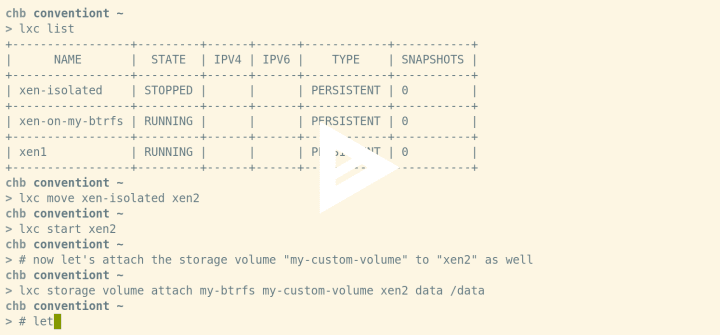
But let’s make xen-isolated have the same mapping as xen1 and let’s also rename it to xen2 to reflect that change. Now we can attach my-custom-volume to both xen1 and xen2 without a problem:
Summary
The storage API is a very powerful addition to LXD. It provides a set of essential features that are helpful in dealing with a variety of problems when using containers at scale. This short introducion hopefully gave you an impression on what you can do with it. There will be more to come in the future.
This blog was originally featured at Brauner's Blog

